 Welcome to the Week Three lesson. You can return to the Table of Contents to access additional lessons.
Please remember that all of the videos included were filmed several years ago.
This information is offered freely — you don’t have to pay a dime to access it, but if you found it valuable, please consider dropping some money in the virtual tip jar. In addition, please respect my copyright, and please provide friends a link to my website instead of sharing files and videos directly. Here’s a link you can use: http://wp.me/PqREJ-1Lu
This lesson is all about feathering in deep curves.
This week’s videos were split up in to several shorter sessions. My notes say that by this time in August 2009, my ragweed allergies were getting pretty epic, so apologies for the voice in these!
FIRST
Watch the videos!
Drawing Presentation
Whiteboard Drawing Part 1:
Whiteboard Drawing Part 2:
Whiteboard Drawing Part 3:
Whiteboard Drawing Part 4:
This is me drawing a feathered meander, but on fast-forward. YouTube let me add a musical track, so you get to listen to some Mozart while watching me draw!
Whiteboard Drawing Part 5:
SECOND
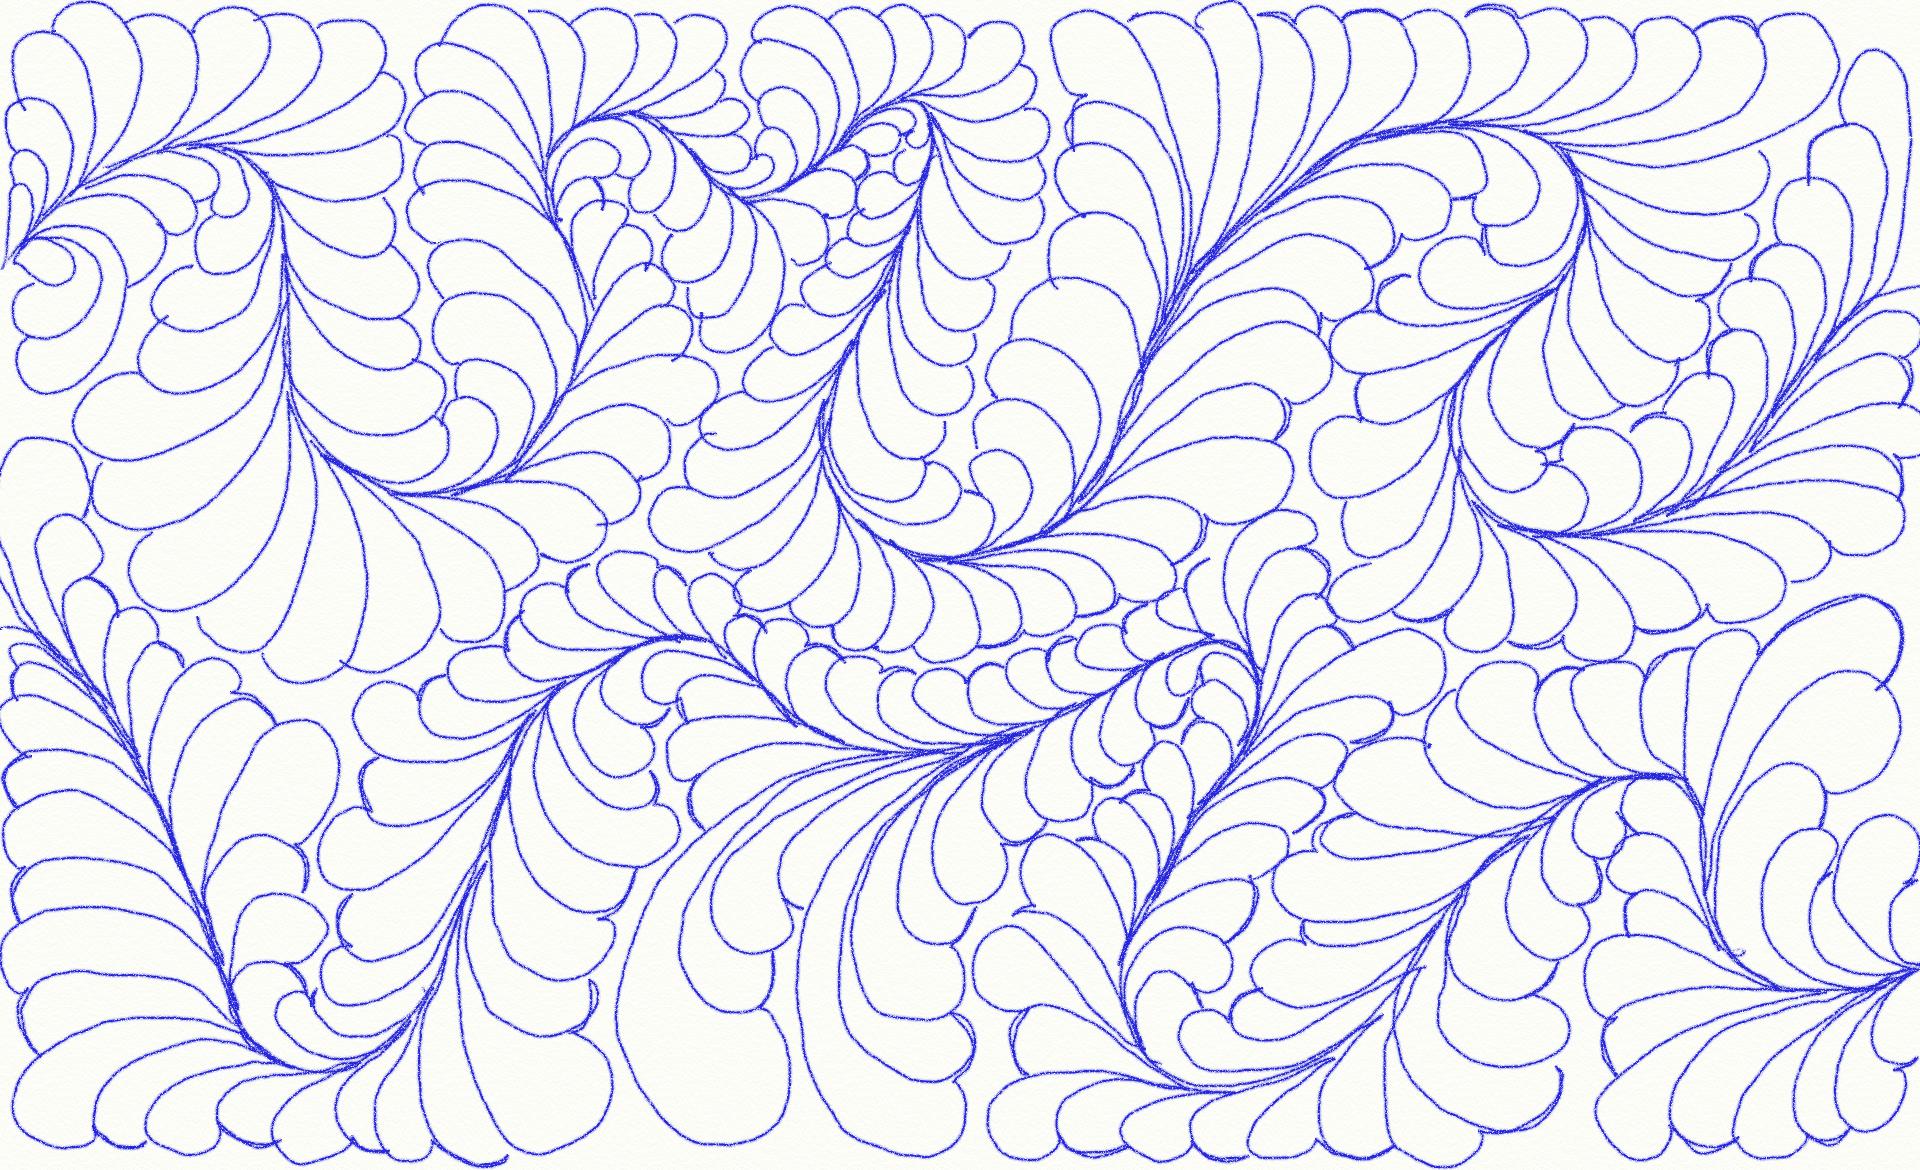
Download the presentation slides and drawing lesson handout. I’ve also attached the image of the feathered meander drawn in today’s videos. You can download this as well, just right-click on it to save the image.
PDF Week 3 Presentation Handout
PDF Week 3 Drawing Lesson Handout
THIRD
You guessed it: go draw!
FOURTH
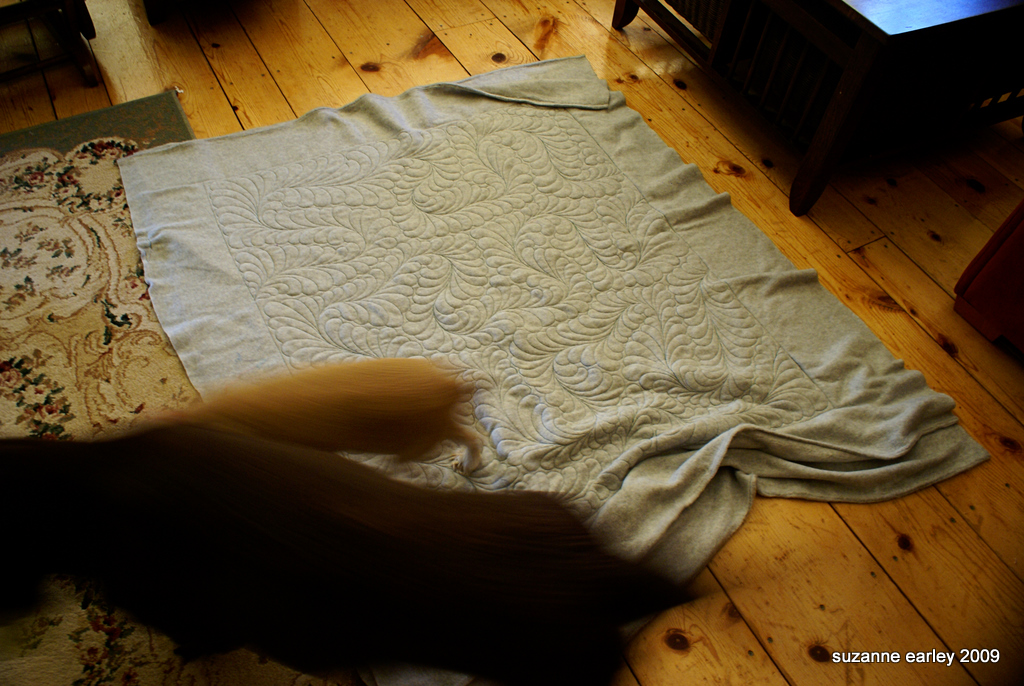
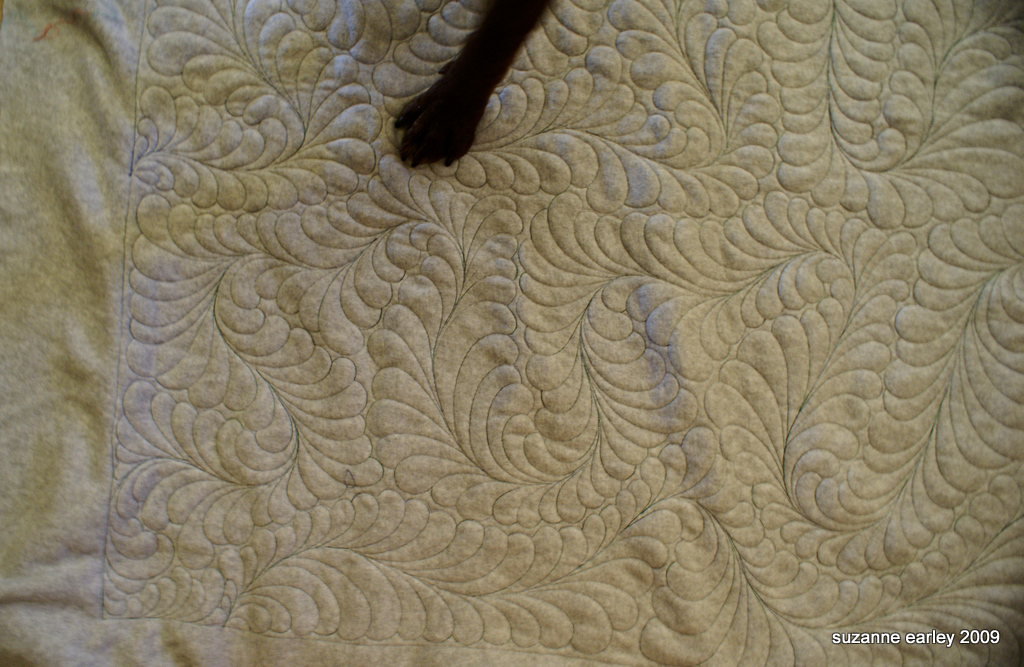
Fleece Blanket Project — time to stitch! I’ve included instructions for making a feathered fleece blanket. You certainly don’t have to use fleece — you could load up any kind of practice material and just practice stitching the deep curve feathers you’ve learned about in this lesson. The fleece blanket, though, is a fun, practical project — you get tons of practice making feathers, and you end up with something useful in the end!
I have never had any problems stitching on fleece, but my notes tell me that some of my students had trouble with shredding thread and tension problems. Hopefully, if you try it, you won’t have any troubles!
Download the instructions:
FIFTH
Self check time! Time to take something you drew or stitched, prop it up and then step back from it. Go all the way across the room if you can. Take a picture and post it online (maybe it MQResource?). Compare it with something you drew or stitched the first week and take note of now much you have improved.
Remember, this is freehand: it’s not meant to be perfect. This class is about helping you refine your work as best you can, but the variations and imperfections are what make it yours and make it interesting and sparkly.
SIXTH
Bonus lessons: this page is getting really long, so I’m going to split the Decorated Feathers lessons up onto a separate page!
Decorated Feathers Part 1
As I mentioned above, this class information is all offered freely, but if you felt it was valuable, please consider dropping something in my virtual tip jar:
Return to the Table of Contents to access additional lessons.
Want to learn more from me? Check out my book, Meandering Magic: The Deluxe Edition.


Leave a Reply