Making a mini-quilt, part 3

To catch up: part one and part two.

This whole bribery thing is working pretty well — I’m actually getting a lot done on the machine quilting front:  I’m pretty excited about this little mini-quilt and want to get back to it as soon as I can!

Last year, when I made the Radiant Star Quilt, I did a pretty long tutorial about how I make tiny half square triangle units (HSTs).  That is a great technique for getting perfect small ones, but it can be a bit fiddly (OK, a LOT fiddly…), and it isn’t appropriate for the larger, scrappy HSTs I’m making for this small quilt.

I started with the 3.5 inch squares, and while I could have draw lines on the back, and sewed, and then cut apart, I skip the whole “drawing lines” part, and just cut them in half first:

DSC03458 Making a mini quilt, part 3

And then, after I unbury my sewing machine, find the right thread, fill a bobbin, and oil the sewing machine, I sewed them all up into HSTs.

I’m going to cut them down to size so it doesn’t matter that no matter how careful I am, I can’t seem to sew these together without some of them ending up wonky.  I just whack off the wonkiness.

But that’s a later step, first, I have to press these babies:
DSC03459 Making a mini quilt, part 3OK, before that I need to eat some lunch and quilt some more, but THEN I’m going to press these, and after that, I’ll trim them to size.

And yes, I did just cut up red squares and then sew them back together to make…red squares.

I’m a quilter:  one of the definitions of quilter is “person who cuts up perfectly good fabric into tiny pieces and then sews it back together.”  Didn’t you know that?

share save 171 16 Making a mini quilt, part 3

Making a mini quilt, part 2

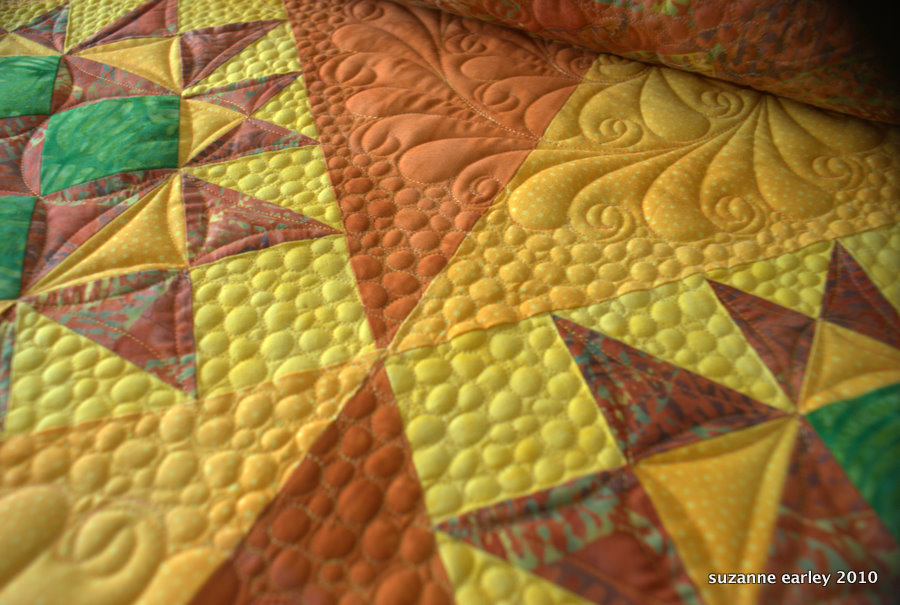
To catch up: part one.

I feel like I somehow need to prove that I did the pebbling, but I’ll be honest, one pebble looks like any other, so after this photo, we’re going to have to assume I’m working on the honor system here:

DSC03456 1 Making a mini quilt, part 2

Trust me, those are new pebbles.

Step 2 of my mini quilt: pressing and cutting.  Pressing, because a bunch of the fabric I pulled out was from my strip box and those get pretty mangled.  As I said, it’s not a very big quilt, so that big pile of fabric in the previous post got whittled down to:

DSC03457 Making a mini quilt, part 2Ignore the nasty ironing board cover, please.

I need:

3 cream strips, 2.5 inches wide.  I’ll cut to length later

8 blue strips, 1 inch wide.  Ditto

32 red squares, 3.5 inches, they could be smaller, but I had 3.5 inch strips, so I’ll go with it and cut my HSTs down to size later.

OK, time for more pebbling, and then I have some half-square triangles to make!

share save 171 16 Making a mini quilt, part 2

Making a mini quilt, part 1

My sewing machine has been underutilized this summer:  it’s only been turned on to

  1. alter several t-shirts
  2. alter 2 of Mark’s work shirts (holes in elbows: now he has 2 new short sleeve shirts…)
  3. do a tiny bit of strip piecing

The longarm has been working, but not the Bernina.  I thought I was going to end that drought last night, but I couldn’t decide what to work on, so I went to bed instead.

Today, though:  I woke up with an idea!!  It’s just a little doll quilt, and while it won’t get quilted today, it should get completely pieced…in between doing some pebble quilting on a quilt.  I can only pebble for so long at a time, and this will be my reward for being a good worker bee.

I have a plan (which I’m not sharing, I don’t want you to see what it is yet…).

I have the fabric:

DSC03455 Making a mini quilt, part 1

And in a little while I’ll be back with an update.

Yes, it’s my normal color palette, I figured that I’d go with something super easy that I know well!

But first?  The pebbles are calling me!

pixel Making a mini quilt, part 1
share save 171 16 Making a mini quilt, part 1